Moss Gathered
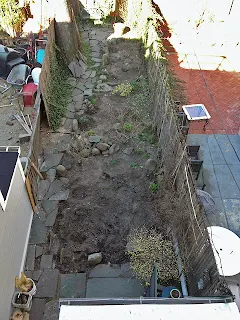
See the first part of this patio project here.
After laying another layer of landscape fabric, I spread and raked the bedding sand -the zen part of laying patio stones. For an area this size with irregularly shaped flagstone, there's little use for screeding the sand. That would be appropriate for laying bricks or cut stone with uniform thickness.
My willingness to smooth the bedding sand is extraneous. As soon as I start laying stones I will mess it up with my boots and knees.
Because I needed to match the level of the older paving, I chose to start here, in the absolute lowest corner. You don't want to start somewhere else only hoping to meet level of the lowest spot after hours of laying stone.
When you are working with stones on hand, fitting the puzzle can be challenging. I tried to refrain from tearing out stones already laid, but it was impossible. Sometimes you must undo what's already been done in order to move forward.
Late in the day I had almost all the stones set, excepting some small internal pieces and the transition to the adjacent, sloped paving. Hosing down the stones allows water to settle the sand.
After pouring the additional sand on the laid stones, I swept it about.
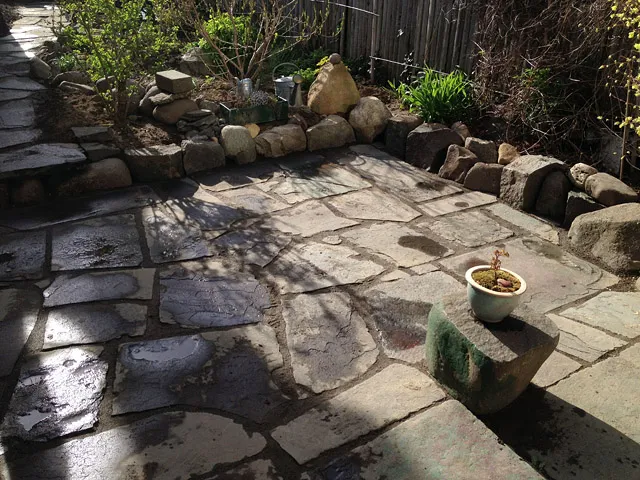
Then I set the path stones, which were simply laid onto the soil. The owners want to use the spare stones to separate the garden from the path, something they will do later. Afterward, I hosed the patio down, then took to sweeping it again to remove any excess bedding sand, and once again hosed it down. Job done.


Conceptually SO very different from before. You've really made something beautiful.
ReplyDeleteThank you Ellen.
Delete